Friday, August 26, 2022

TREES FOR THE FOREST—ROUND TWO

Casting about for summer projects, I decided to tackle more trees for my forest.  I settled upon “furnace filter” speared onto trunks as my basic construction technique for Douglas Fir—the dominant tree in Western Oregon.  I described the technique in my first post on this topic:

https://espeecascades.blogspot.com/2018/12/o-tannenbaum.html


I settled on using tree materials from Coastmans Scenery Products:  https://www.coastmans.com/  Coastmans supplies finished trees, tree kits and separate materials:  trunks and branch material.  So far, I have just used the kits, but am about to move to using just the trunks and branch material (mat) as I don’t need much of the other material in the kits, at least for trees well into my forests.  


My first efforts toward making Douglas Fir models were a bit disappointing.  Following instruction by Roger Rasmussen at the 2018 NMRA_PNR Convention in Portland, I split the branch mat material into thin slices before gluing them to the tree trunks.  My efforts left a bit too much space between the disks such that the trees really did not capture the bulk of foliage I see all around me here in Oregon.  That left me disappointed and led to the long wait until this second effort.  As with most artistic ventures, one learns by doing.  I just needed to move that process along.


My earlier blog post (O Tannenbaum!) describes the basic procedure, but I will briefly recap here.  Working over oven pans to capture and control the ground foam that sheds from the branch material mats, I tore suitably sized “disks” of material.  Actually, the “disks were more like squares, but they get further shaped by tugging on the mat material and later trimming it on the developing tree.  I used an awl to poke a hole in the center of each “disk” and then slid the disks down onto the trunk, gluing them in place with white glue.


Making trees.  Working over oven pans helps corral the ground foam shed from the branch material mats for reuse as flocking.


Once the branch material glue sets, further trimming with scissors helps shape the tree.  Spray adhesive is applied and then the ground foam is sprinkled liberally upon the tree “branches.”  Upon reflection, my first effort spaced the branch disks a bit too far apart.  I also did not apply quite as liberal a coating of ground foam as I did on this second round.  As I expected, I needed to augment the flock from the tree kits with more ground foam.  Coastmans uses Woodland Scenics Conifer green Coarse Turf (T1366) on the branch mats, so it is easy to augment the ground foam supply.


Flocking the tree branches.  The three trees on the left have been flocked.  The three on the right are ready for flocking.  Note the space between the thin branch disks on the second tree  from the right.  The flocked trees had similar gaps.


The trees for Round Two.  Most are nine inches tall.  The two in back are eleven inches tall—still short for old growth Douglas Fir.  Both are suitable for layout scale.


I am much happier with my second effort at tree making.  The keys to success were a bit closer spacing of the branch mat disks on the trunks and a more liberal dusting of turf “flocking.”  With this success, I am ready to start my production line.  Think thousands of trees….

Saturday, August 6, 2022

THE RAILROAD AT YEAR TEN—A DECADE!

 THE RAILROAD AT YEAR TEN—A DECADE!


August 1 marks the anniversary of the start of construction for my SP Cascade Line.  It is now ten years since I began this construction and operations adventure.  I do an annual photo survey of the railroad at the beginning of August each year to document my progress.  Last year’s photo survey may be found at:  https://espeecascades.blogspot.com/2021/08/the-railroad-at-year-nine.html  From there, one can work back through the years to the beginning in 2012.


This past year’s effort was that of consolidation following the installation of the long-awaited second main line between the Eugene Arrival-Departure Yard and the Eugene Depot area.  Structures were the theme.  That new main line track fixed the space available alongside it for industry.  I succeeded in filling the six new industrial spurs with structures before activating service to those spurs--no folded index card signs this time around!  I also completed construction of the Springfield depot using a recent laser-cut kit produced for the Southern Pacific Historical and Technical Society.


This year we will follow an RVEUY (Roseville to Eugene manifest freight) as it treks over the railroad from Crescent Lake to Eugene.  This is a RR-Eastbound move as it is away from corporate headquarters in San Francsico.


SP 7308 East begins its journey over the Cascade Subdivision of the Oregon Division as it leaves Crescent Lake.  This twelve-track reverse-loop staging yard represents the RR-West (geographic south) end of my railroad.  The yard is laid on panels suspended from the ceiling.


SP 7308 E rolls through Cascade Summit.  No need to stop here, as our locomotive units are in good shape, especially their dynamic brakes.


Winding our way down-hill through tunnels and rock sheds, we cross the first of three large steel viaducts at Shady Creek.  This scene also shows McCredie Springs on the lower deck, separated by about 2.5 feet of elevation.  Total railhead climb on my model railroad is a bit over three feet.


After the Shady Creek trestle, we roll through Cruzatte.  In days of steam power, this was a mandatory wheel cooling stop as light brake-shoe pressure was set at the summit.  With dynamic brakes we do not need to set those brake-shoe retainers so we keep moving.


Perched between two tunnels and rock sheds, Noisy Creek is the second of the large steel viaducts on the line.


Salt Creek Trestle is the third, longest and final of the large steel viaducts we cross on our way downhill.  This trestle crosses both Salt Creek and Oregon Highway 58—the Willamette Pass Highway,


After crossing Salt Creek Trestle, my railroad rolls through Wicopee.  I had to compromise during layout design to put the trestle on the opposite side of this important siding.  Wicopee is the mid-point in the climb up from Oakridge to the summit.  It was a habitual water stop with steam locomotives.  It still has an active water tower to support forest fire fighting.


Montieth Rock, also known as Rooster Rock, is an interesting volcanic plug below McCredie Springs.


Salmon Creek is just outside Oakridge.  The track on a temporary “bridge” in the foreground leads to the Pope and Talbot mill on the geographic east side of Oakridge.


SP 7308 E continues to roll through Oakridge.  Oakridge was the historic steam helper station at the base of the climb up over the Cascades.  While the SP closed it down when steam was replaced by diesels, I retain it as my helper station.  The rear of the Oakridge Turn local freight train is in the foreground.  This tends to be a big train as it serves the two big sawmills that bracket Oakridge:  Pope and Talbot and the former Western Lumber at Westfir.  We see the Pope and Talbot loads at the rear of the train.


Our train crosses the North Fork of the Willamette River as it exits Tunnel 22 from Oakridge and enters Westfir.  The former Western Lumber Company mill was owned by the Edward Hines Company in its final years of operation.


SP 7308 E swings around industry on a branch on the geographic east side of Springfield.  The old agricultural business is being replaced by forest products industries such as Neste Resins (now Arclin).


Continuing into Springfield, we pass the large Rosboro Lumber mill, still very much active.  I had to selectively compress my models of prominent structures of the mill complex.


SP 7308 E continues to roll through Springfield past the Springfield Depot.  The delightful Queen Anne style depot has been moved and preserved to serve the Springfield Chamber of Commerce.  I was delighted when the SPH&TS produced a kit for this depot plan—the second most common depot plan on the SP.


We cross the Willamette River on our way from Springfield into Eugene.


SP 7308 E works its way into Eugene.


SP 7308 E passes the Eugene depot and freight depot.  The passenger depot remains in service for Amtrak.  My layout planning led to placing my classification yard in front of the depot scene.  This yard serves the industry physically modeled on my railroad.  It is very similar in function and size to the Blair Street yard which was the original yard at Eugene, before the large hump yard was built along the mainline with construction of the Natron Cutoff (toady’s Cascade Line) in 1926.


SP 7308 E completes its trek over the Cascade Subdivision as it rolls into the Eugene Arrival-Departure Yard.  Seen in the background are some of the new industry structures completed as part of the track project in this area over the past couple of years.


I hosted nine formal operating sessions and two small group sessions this past year, returning the railroad to its intended purpose.  The crews have been smaller than those of years past as everyone is more cautious and selective about activities.  Still, we have managed to enjoy the hobby!

Saturday, July 30, 2022

FASCIA SHELF EDGING

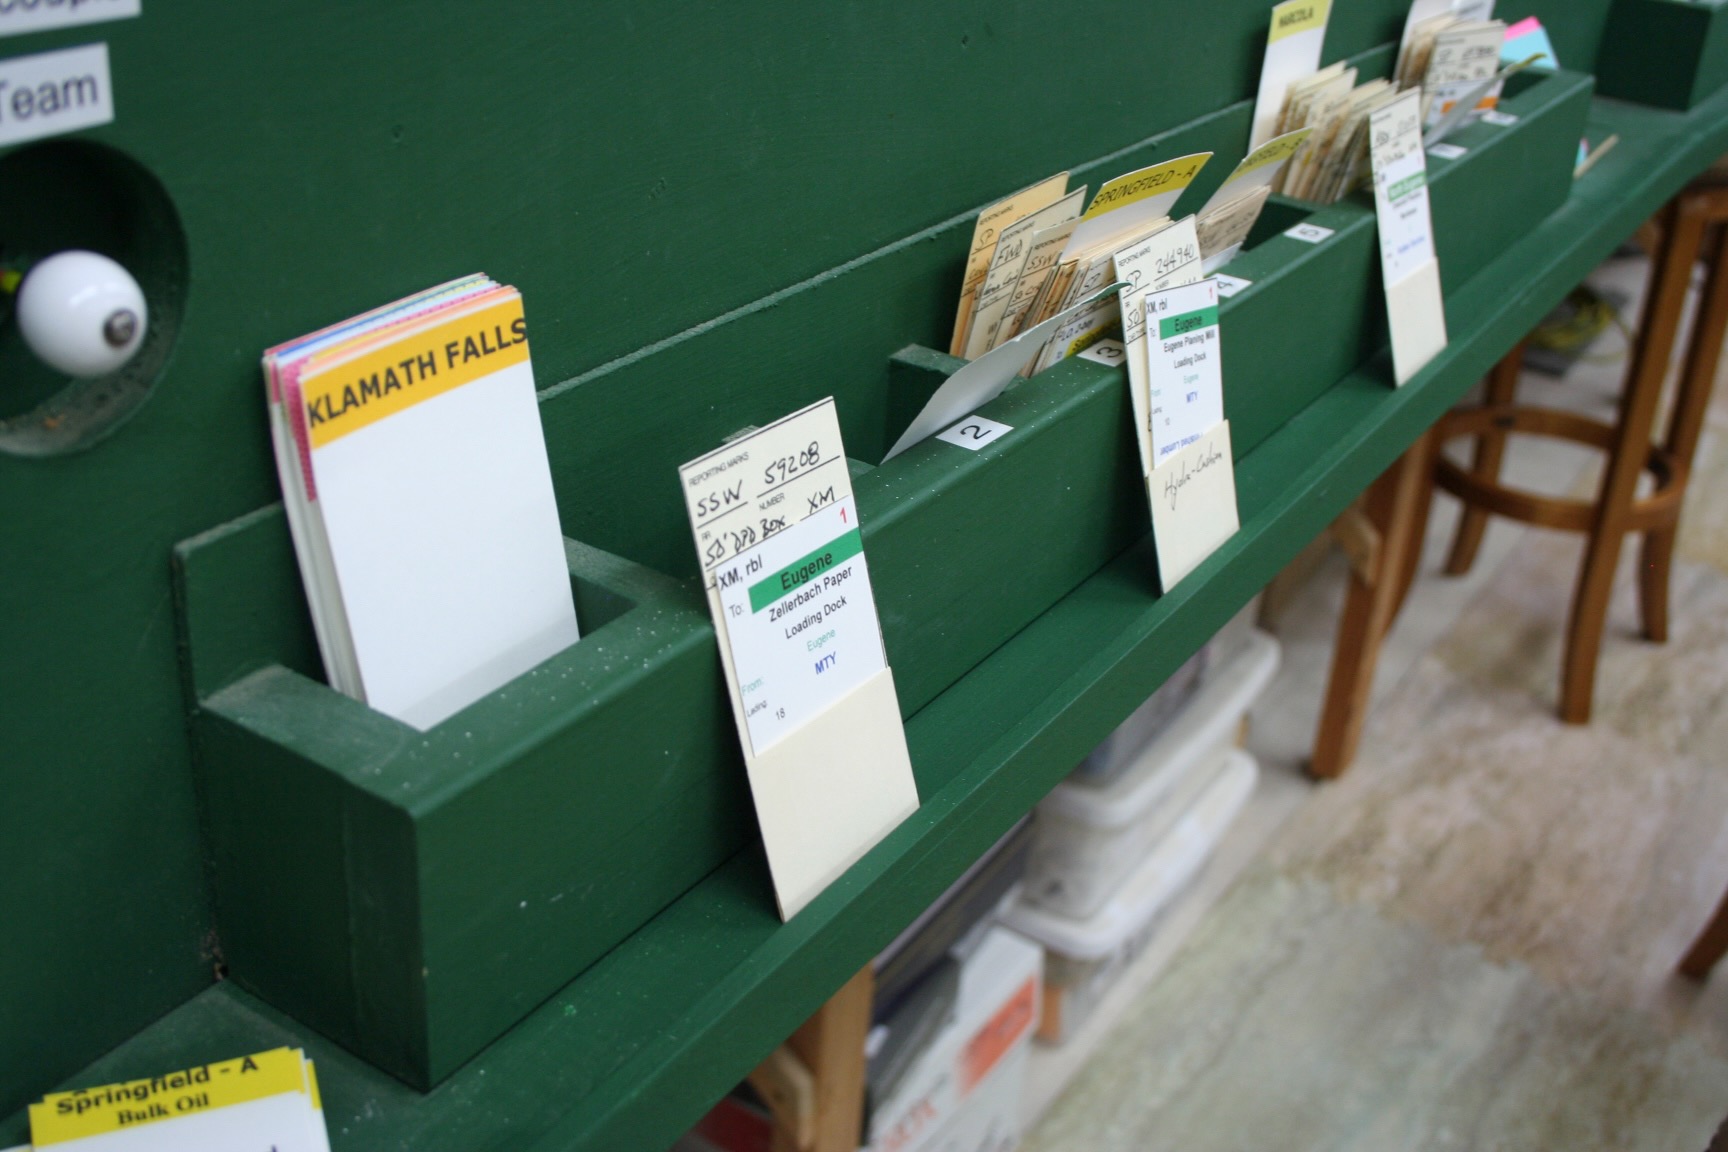
One of the challenges for an operating model railroad is to provide adequate facilities and layout equipage to perform the intended operating tasks.  I use car cards and waybills to direct freight car movement on my railroad.  This presents the challenge of providing places for operators to sort the car cards and verify the freight cars being directed by them.  This is particularly important in yard operations, but it also shows up anywhere significant industry switching takes place.


As I built my railroad and attached fascia to the layout edges, I also installed 1x4 shelves at the base of the fascia wherever I thought significant switching or sorting might take place.  My car cards are four inches tall, so that a 1x4 shelf should have been sufficient for holding the car cards--horizontally.  It turns out many operators prefer to place car cards vertically.  I accounted for that in the immediate vicinity of the car card boxes by installing shelf edging in the form of ¼-inch square wood strip.


Fascia shelf edging in front of the car card box set for the Eugene Classification Yard.  Car cards can still be placed on the shelf for sorting close to where their cars are on the yard tracks, held in place by the shelf edging.


As I gained experience with the operation of my railroad, I observed what the operators were doing with the car cards. Some would simply prop the car cards up on the layout, propped against their car.  I have been trying to avoid that and discourage that, as it breaks the visual flow, at least to me.  Still, they need to do something with the cards as they verify and sort.  


Car cards placed on fascia shelf in front of the cars they belong to.  Fascia shelf edging keeps the car cards from floating to the floor while allowing vertical card placement.


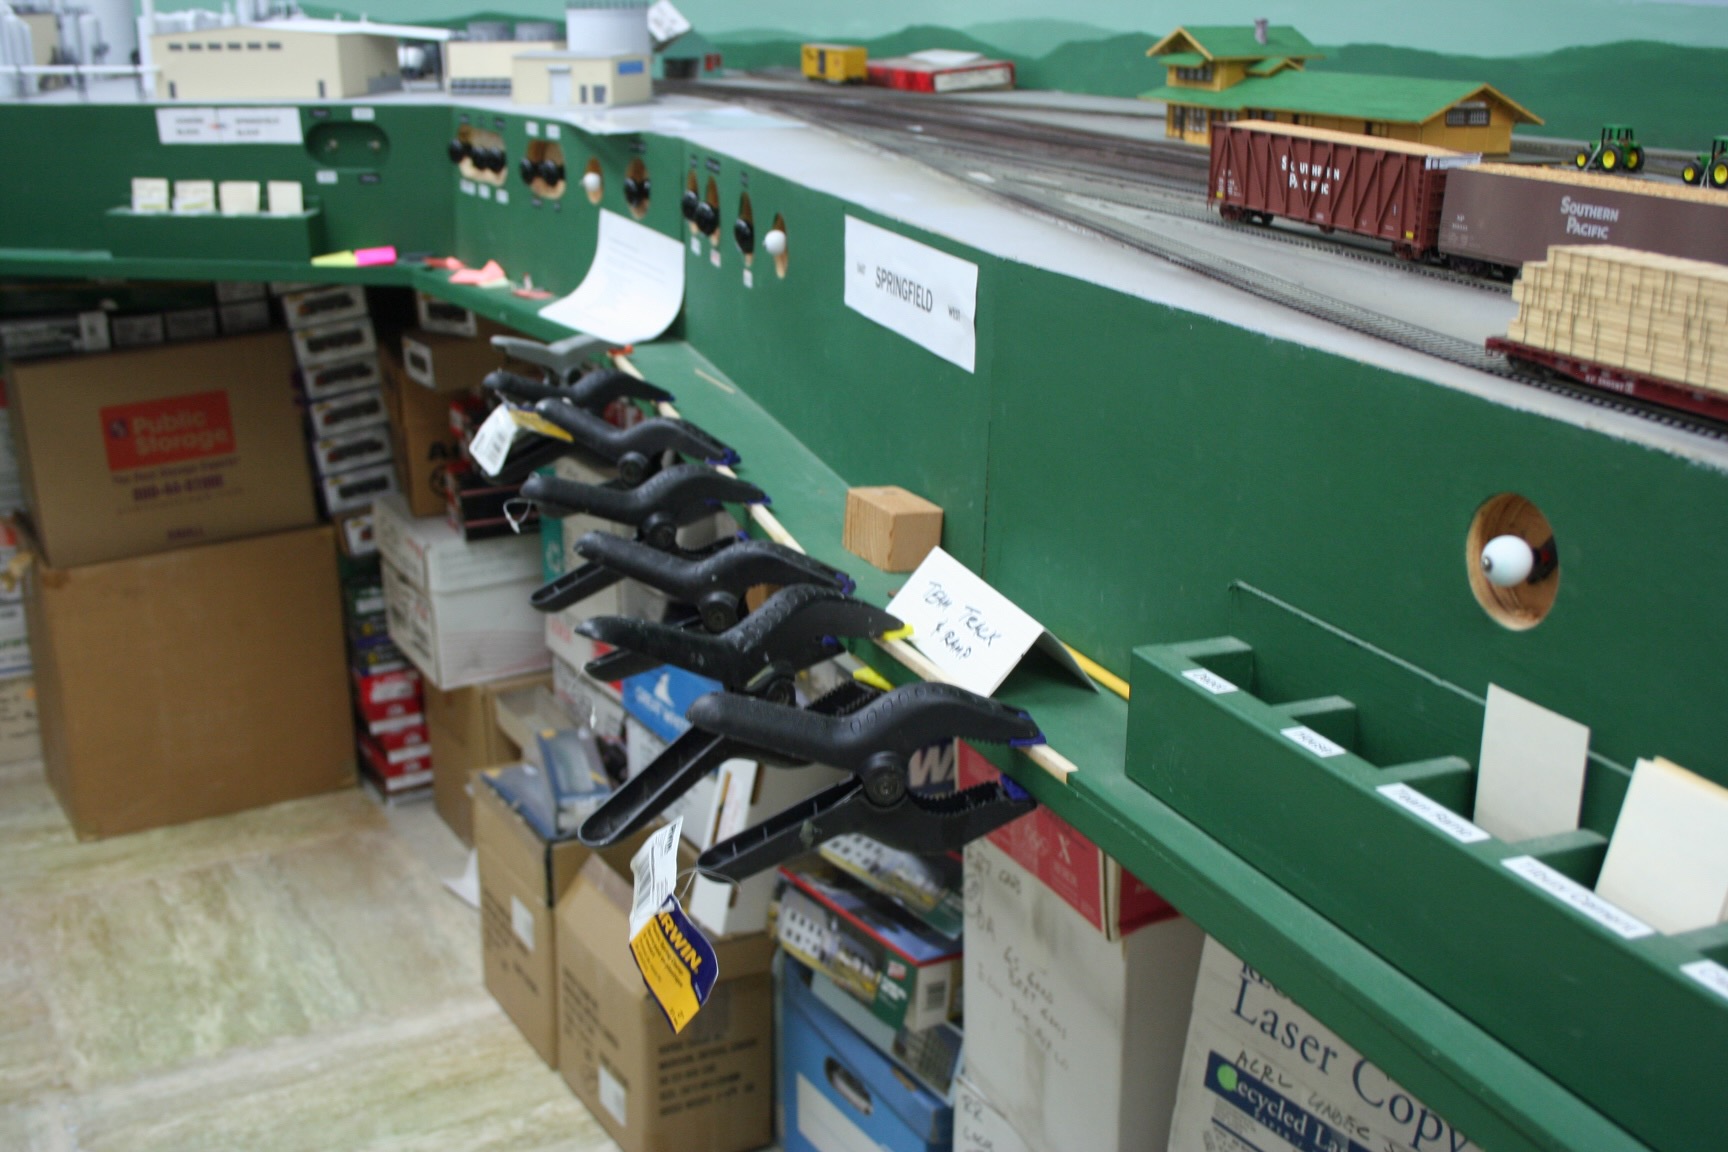
For the past several months I have been on a campaign to install shelf edge strips on all of the fascia shelves on my layout.  This project has been constrained by the availability of ¼-inch square strip wood.  I began with the entire Eugene Yard shelf and then began adding edge strips at Springfield.  I finally scored a significant supply of wood strip, enough to complete edging all of the fascia shelves on the layout. 


Additional fascia shelf edging being installed, filling the gaps between car card boxes where the edge strips were installed originally.


I have had several operating sessions since I began this project.  The shelf edge strips seem to help.  Away from the yard and intense switching, I also have edged the shelf at Cascade Summit.  This edge striping definitely has helped, as my shelf mounting there led to a slight outward tilt of the shelf.  The edge stripping keeps objects placed on the shelf there and not rolling to the floor.    At least something has benefitted!  

Thursday, June 30, 2022

ELEMENTARY BACKDROP ART

For much of the life of my model railroad, my backdrop has used a simple, but effective treatment.  Beginning with a “banded” fade from sky blue to haze at the horizon, I then added a basic terrain treatment of several bands of different green shades plus the base sky blue for the furthest away terrain.  Early blog posts covered this:

https://espeecascades.blogspot.com/2012/11/backdrop-sky.html

https://espeecascades.blogspot.com/2014/02/defining-horizon.html

https://espeecascades.blogspot.com/2014/03/basic-backdrop-for-oakridge.html


As I contemplate three-dimensional scenery efforts atop the terrain base, I recognized I should add detail to the simple backdrop treatment.  I practiced tree techniques a bit on one of my sample boards, but I recognize I have a long way to go with art efforts.  Looking at what I accomplished in this round of painting, I judge myself still back in elementary school art.  Yes, I have some knowledge of color and even some neat art tools (fan brushes for fir trees and sea sponges for deciduous trees), but my two-dimensional efforts are just that—two-dimensional.  I also see I need to learn to apply shading and a better job of fading toward hazed as I deal with terrain further from view.  Nonetheless, a report is appropriate for the current effort.


I chose a stretch of easily accessed backdrop on the route past Westfir for my next steps in “art.”


Basic backdrop leading to Westfir.


I began by defining the ridgelines with trees.  Note to self—mix in sky blue with the “tree colors” to “push” the trees and terrain further “back.”


Tree ridge treatment brought around to the river area serving the Westfir sawmill.


More trees added below the ridge, but this is too regular—just a second line of trees.  I really need to work on breaking up this regular appearance!  An attempt has been made to provide some “foreground” ground treatment.  I will work with the soil cover to coordinate between 3-D and 2-D appearances.  The current “soil” is just a preliminary experiment.


I finally worked in trees closer to view.  The fir trees are too dark, but will have to do for now.  In front of the fir are deciduous trees—maples in the prototype scene.  They are “apple green” to signify the late April season chosen for my foliage efforts.  Low level brush has been added as well.


Before and after comparison.


More accomplished artists are free to both chuckle at my crude attempts and perhaps offer suggestions for this very amateur “artist.”  I know I have a long road ahead of me, but I felt it was time to continue down that road with at least a few more baby steps.


Sunday, June 5, 2022

FIFTY-FIVE FULL OPERATING SESSIONS

My railroad and crew are picking up from the disruptions of the past two years, gradually building back to regular operations.  Crew size has been in flux with ups and downs as their availability competes with other events now returning to society. 


My fifty-fifth full operating session had a crew of thirteen—enough to man all needed positions, but below my desired full crew goal of fifteen or more.  As has been common this year, several crew members had to bow out in the week preceding the session.  This time it was health concerns as the instructions were made clear to all that if they felt a cold coming on, they should stay home—that often has been a sign of WuFlu developing.


I absorbed the reduced crew numbers with lower staffing of the Eugene Yard complex.  My staging efforts had greatly reduced the need for yard crew action, so the three that staffed the yard complex were able to keep up with the needed work.


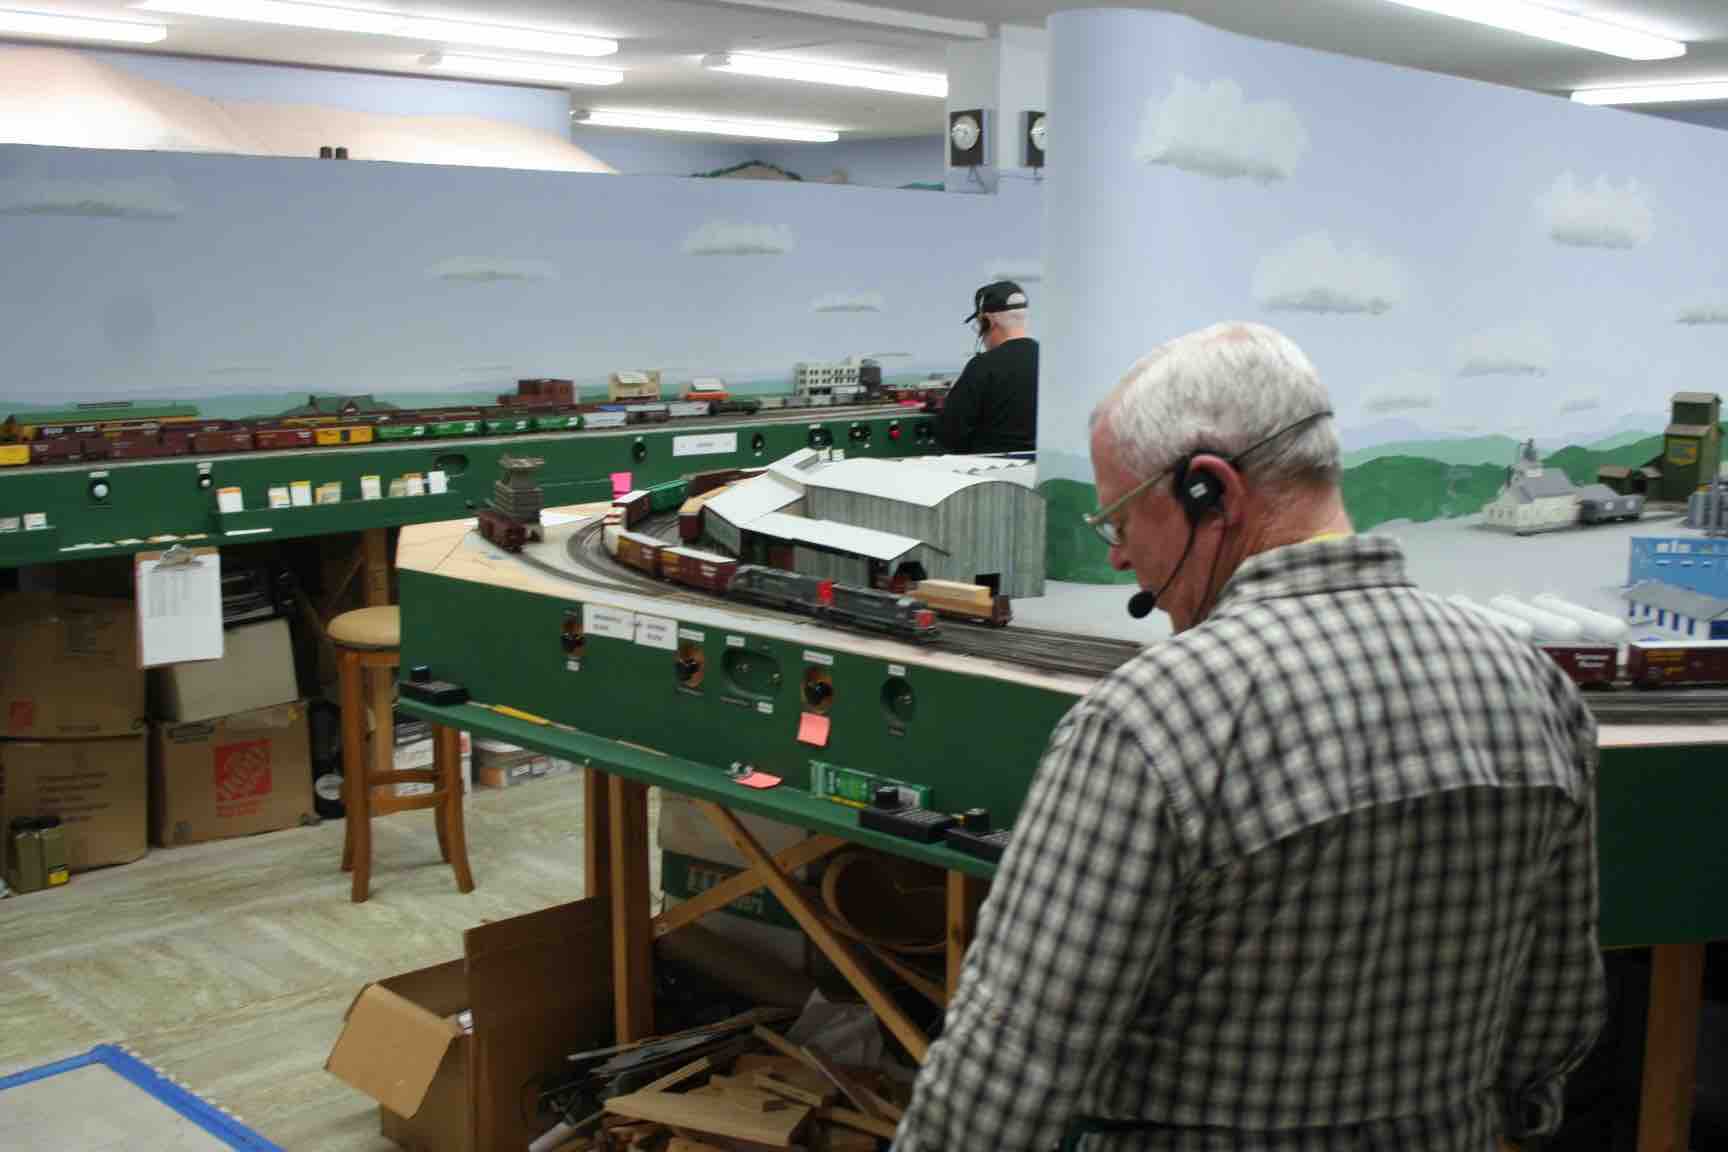
Rick A. (front) served as a “Footboard Yardmaster” at Eugene.  He both managed the yard and worked a throttle for the principal switch engine working the Eugene Classification Yard.  Tucked behind Rick is Dave L. who served as the “Swing Switcher,” working in both the Classification Yard and the Arrival-Departure Yard.  Next in line going back is Mike W. who rejoined the crew after the past two years of greatly reduced operations.  He has the RR-West train on the WP Siding next to the depot, headed out of Eugene.  Finally, Mike L. is bringing in a RR-East train on the Eugene Main.


David L. looks on to the Arrival-Departure Yard early in the session.  Several trains are lined up for RR-West departure on the first few tracks on the right while the rest of the yard has car blocks building toward full train length.


Vic N. served as the “Santa Clara Tower Operator”—my name for the Yardmaster job that manages the Arrival-Departure Yard.  In this photo he is directing Sean VJ who is bringing in a RR-East train to the yard.  Seated above is Mike L. who is awaiting Dispatcher clearance from Crescent Lake—the RR-West end of this layout--overhead.


Managing the traffic on the railroad was the ever-steady Dave H.  Dave has regularly filled this role over the past several years.  I really need to make sure others refresh in this position or train up for it.  The small crew-counts of the past two years have forced me to suspend most of the training program which uses mentors.


Craig P. ran the Springfield-A job which switches industry at Springfield on the depot side of the mainline in Springfield.  This was one of two local Turns that ran during this session.


Mike B. guides his RR-West train around the curve at the RR-West end of Springfield.


Jeroen G. works the Oakridge Turn, the other local freight for this session.  He is organizing his train for efficient switching.  In the background, Mark K. watches the RR-West train he is helping for the mountain climb.


Rodger C. records his block clearance as his train climbs out of McCredie Springs.  Helper engineer Dave. C.  looks on.


Mike W. organizes to start his train RR-East, downhill, at the start of the session.  I usually have trains left out on the RR at the end of a session.  This provides immediate work for the crew at the start of a new operating session.


Helper engineer Dave C. watches his train as it climbs out of Cruzatte and over Shady Creek trestle (viaduct).


Helper engineer Mark K. watches as the train he is helping pulls into Cascade Summit.  He will cut his helpers out of the train here and then likely return light (just the helper locos) to Oakridge to await another uphill train.


Helper engineer Dave C. and road engineer Sean VJ watch their train as it arrives at Cascade Summit.  The rear of their train stretches in the background.  David L. is railfanning using his phone-camera.


Late in the afternoon, I sensed excitement involving a train leaving Eugene and through Springfield.  As it pulled around the curve at the end of the Springfield peninsula, I realized something unusual was happening.  This was a much longer train than normal.  Indeed, it appeared to have mid-train locomotives—not a normal practice on my RR for this location.  As the train continued to wind its way on toward Westfir, I realized the Santa Clara Tower Operator Vic N. decided to send out a doubled-up, non-clearing train, conspiring with train crews and the Dispatcher.


Long trains such as this were features of SP operations of the 1980s.  With the concurrence of my former SP Dispatcher mentor, my basic operating plan held off on this feature, at least until the crews were familiar enough with the railroad and its operation.  Evidently, my crew decided on their own they were ready!  <Big Grin>


The monster train still required help for the mountain climb.  We chose to add the helpers to the rear end of the combined train, just ahead of the two cabooses.  By now, several of the overall crew were hanging around watching this monster, “abandoning” their posts.


The monster train stretches back past Montieth Rock all the way back into Oakridge, while the head end is in McCredie Springs.


Mike W. controls the head-end locos on the monster train as it climbs out of McCredie Springs.  Vic N. (green shirt) is railfanning the train he created.  Mike L. (left) attends to his duty with a RR-East train getting set to leave Oakridge.


The monster train climbed ever higher, here crossing Salt Creek Trestle.  This brought out the railfans!


The monster train eventually developed motive power issues at Cruzatte—a not uncommon problem for the full-sized monster trains back in the day.  I eventually had to end the fun by breaking apart the two trains to have them proceed independently to Cascade Summit and on into Crescent Lake.  While technical issues with the layout power system defeated the attempt at a full transit of my RR with this train, it did show that both the crew and railroad have matured.

Tuesday, May 31, 2022

OVERDUE FREIGHT CAR ENHANCEMENT

Building, operating and maintaining a large model railroad necessarily has been an exercise in priorities.  With all of the labor supplied by just myself, I have constantly had to work on whatever I deemed highest priority at any given time.  With initial construction and operation, that list was obvious to me.  As the railroad matured, I shifted from track, wiring and initial equipage to other improvement tasks such as building and installing the three steel viaducts on the mountain climb.  That precipitated a major base terrain construction, as the viaducts (trestles) needed to be set into something.  That then led to the tunnels.  The base terrain was completed in January 2020, whereupon I turned to “industrial terrain”—structures in the Eugene and Springfield scenes.  Now that I have fulfilled my presentation obligation for the NMRA-PNR convention featuring those industries, I am turning to other deferred tasks.


In my past modeling, I always tried to properly weight rolling stock and apply at least a base of weathering to the finish before I placed it into service.  I did not have the time or energy for that with this layout as I first rushed to complete the mainline for the NMRA National Convention in Portland in 2015.  As described above, completing the trackwork and then operating the railroad were my prime concerns for a while, followed by the major scenery effort that set the scene. Taking a deep breath after the push to complete structures in Eugene and Springfield, I felt it was time at last to get back to the rolling stock.


As I have observed my railroad operating and as I handled cars during re-staging operations, I noted several cars seemed to be light weight.  This is an affliction of the current era of ready to roll freight cars.  In the past, with freight car kits, I added weight as a routine element of construction.  My preferred weight follows the NMRA recommended practice of one ounce plus a half ounce per inch of model length.  The typical fifty-foot car of my current 1984 model era should weigh about 4.5 ounces.  When I weighed a stock RTR car, I found it was a half-ounce under this weight.  That is not necessarily bad.  It is within a tolerance band for weight, but my observations of train behavior during operating sessions suggested to me a bit more weight might help.


Adding weight to boxcars.  One or two steel nuts of about ½-inch size provides the desired additional weight.  These are installed into the cars with adhesive caulk.


One of the biggest challenges to my weighting program has been opening the cars enough to add the weight.  As seen in the photo, many “modern” cars have separate roofs.  This aids painting during manufacture.  Fortunately, most of these roofs have been removable, although it has taken careful work.  As seen with the top boxcar in the weighting photo above, some of the roofs were tightly glued in place or at least an end remained tightly fixed.  As seen in the photo, I was able to pry up enough roof to insert the steel nuts used for weight for most of these.  Other cars have a removable floor—just like the “Blue Box” kits of yore.  Most of these yielded to careful prying.  


I still have several cars that refuse to yield an opening.  I will watch these in operation over time.  If problems develop or are observed, those cars may simply have to be retired.  A particular problem for which I have no solution yet is the fleet of 4650 cu ft covered hoppers I operate.  It appears I may be able to flow some sort of weight in through the access hole in the ends, but the car body will not open up without destroying the model.  These cars compound the problem by being even lighter than the boxcars (3.5 oz).  I have seen operational issues with some of them.  I will report later if I do find a weighting solution.


Another task I undertook with this fleet of freight car upgrades was to apply a weathering base.  After masking the wheels, I applied flat finish and then spray painted a light coat of “grunge.”  I may come back later to add further weathering, likely with pastels.


Enhanced boxcars at the Zellerbach Paper warehouse in my Eugene depot area.  The three yellow door cars got additional weight and a light coat of weathering “grunge” paint.


The weighting and weathering program likely will continue on a sporadic basis as time and motivation strike.  This first pass addressed thirty cars including several that I sought out.  Exactrail Southern Rwy. Pullman-Standard waffle side boxcars were very memorable for being involved in derailments at switches and being light weight.  They simply were memorable.  At least they proved easy to add weight to (roofs come off easily).  InterMountain covered hoppers are a different matter as noted above.  The freight car fleet upgrades will continue.